


📻 Own the airwaves, build your legacy.
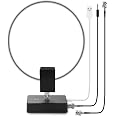
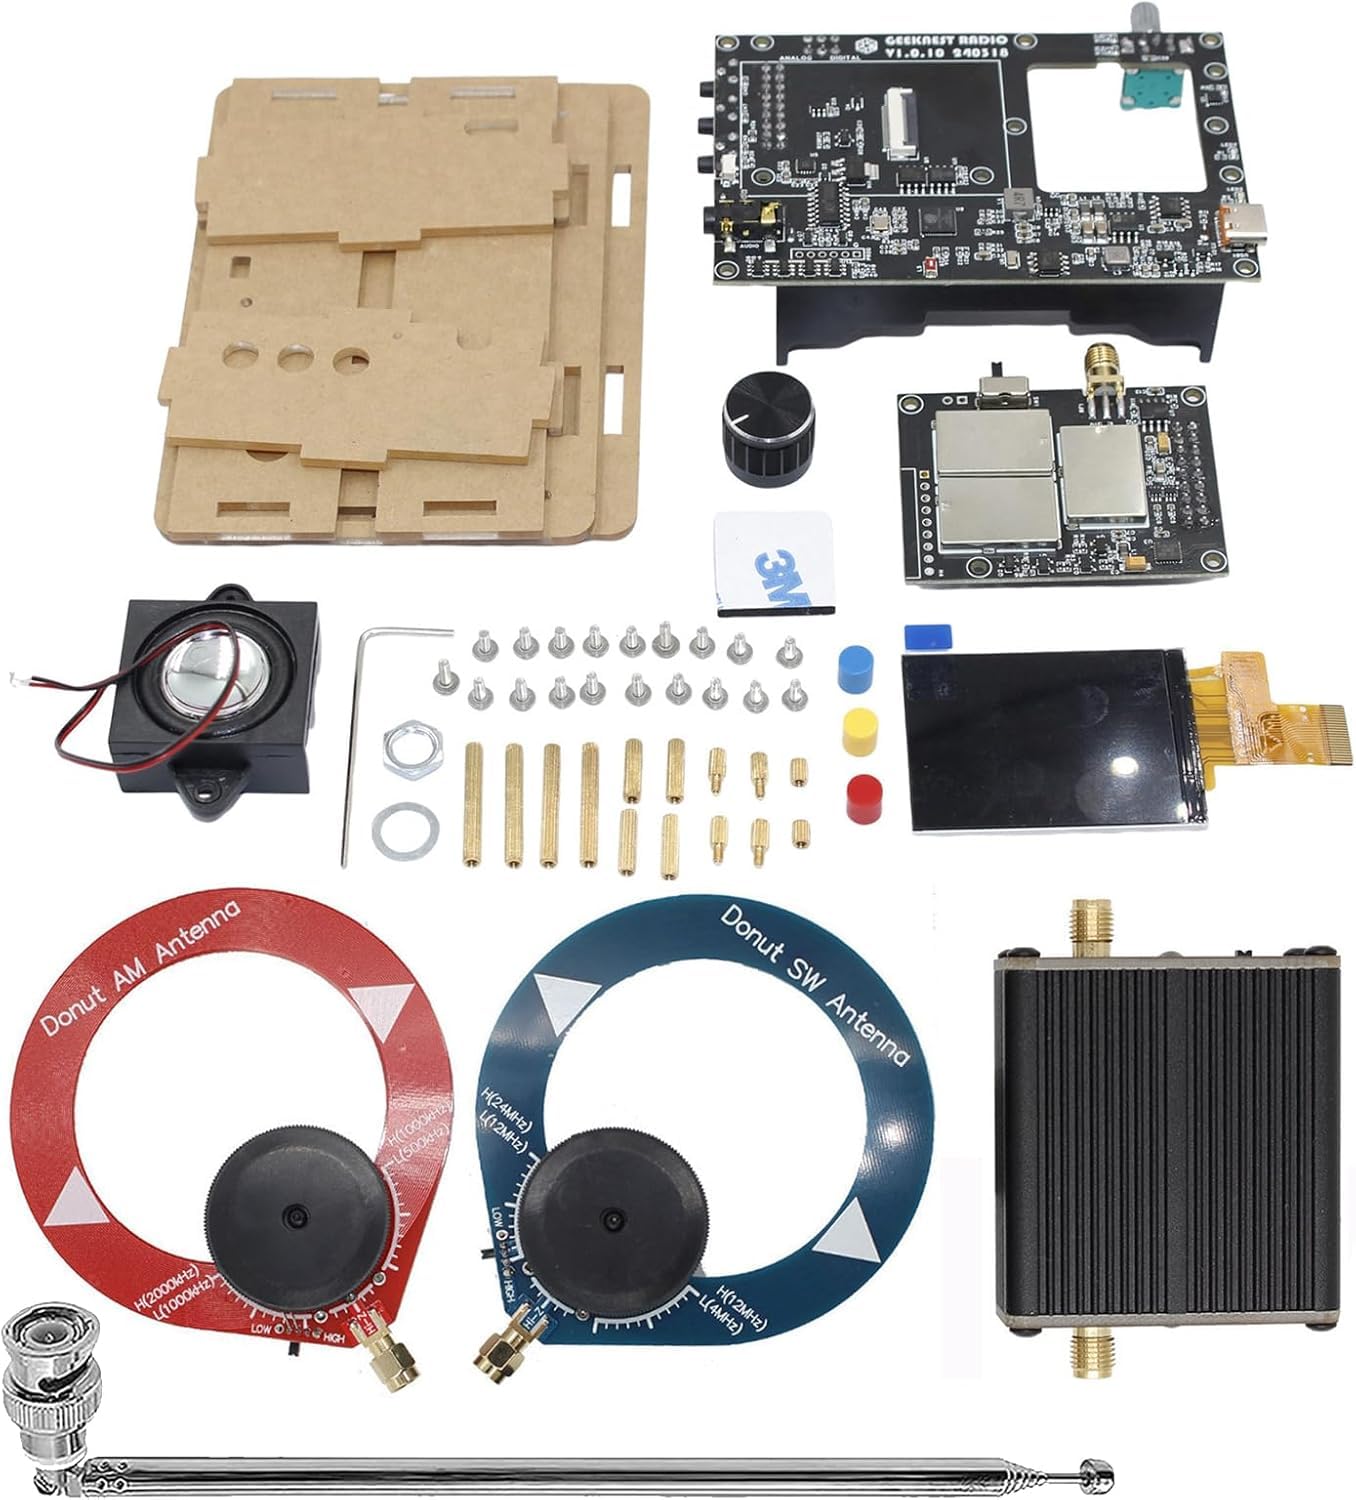
The V5A Full Band DIY Radio Receiver is a versatile, portable shortwave radio kit supporting FM, AM, MW, SW, SSB, AIR, and UHF bands. Powered by 18650 batteries, it features a high-quality speaker, Hi-Z amplifier, and AM/SW donut antenna for superior reception and sound. Designed for enthusiasts, it offers an interactive assembly experience that deepens understanding of radio technology while delivering professional-grade performance.
A**O
A good radio, even if a poor interface
I was surprised by how easily assembled this turned out to be. even allowing for being very ham-fisted, and the screws and standoffs being rather fiddly, it was simple and straightforward to put together. Mine had a fold-out sheet of assembly instructions in the box, but I'd also watched a couple of youtube videos, which were actually more helpful because they showed the process, not just the steps.The hardest part was probably peeling the paper backing off the plastic casing panels, but I had also mounted the casing standoffs and loosely attached the front panel before putting the rest of the casing parts in place, since it meant not having to hold multiple pieces together while working.There is not battery included in the kit, which in my case was not a problem since I already had a spare 18650 3000mAh rechargeable, but be aware that some of these batteries may not actually fit, so it's best to avoid those with a 'button' at the positive end.Also, be aware that if buying the kit which includes the two 'donut' antennas and LNA, there is no cable/connector provided to attach the LNA to the radio. The antennas can be connected to the radio directly, but there's a mismatch in impedance (the antennas are 'Hi-Z' type but the radio's input is 50ohm) so the signal will be noticeably attenuated. A male SMA to Male SMA adapter or cable is necessary. Not expensive, but frustrating.Generally, once built the radio looks rather cool, but operationally it is has the kind of poorly implemented user interface that it's hard to imagine anyone thinking was a good idea. It is needlessly complicated, requiring unintuitive presses on buttons, and takes a fair bit of getting used to. Without a user manual, it would be hopeless, though thankfully there is one - and it's quite well written and presented - the URL for which was also included on a slip of paper in the box.The telescopic antenna is more than adequate for FM, but not really for anything else, but the radio itself is fairly sensitive, and a long wire on HF does pull in a reasonable signal. Nothing earth shattering, but this isn't a 'pro' level communications receiver and for the price it's certainly good for casual use, capable of surprisingly good results.Be prepared to spend some time getting the hang of the interface, and exactly what button does what in which order and sequence. It's possible that new firmware over time may simplify this, or add more features, but for now, it's rather enjoyable to build it and discover how to use it. It's also rather pleasing to look at, seeing the exposed circuit boards and innards as a reward for assembling it yourself.It's in the same class of radio as the ATS25 series of boxes, and while those are easier to use thanks to their touch screens, the Geeknest V5a seems a little more sensitive - which is after all what a radio is for.
D**Y
No instructions
No instructions
C**A
Instructions PDF in description
I just ordered this and haven't received it yet however I see that the only other review at this time is 1 star saying there are no instructions and I feel that's slightly unfair, slightly, since there are in fact instructions available without even buying this kit! The description also includes what frequencies are supposed to be possible, I've seen ham radios that don't do that...From the PDF which is primarily in relatively decent English and images there is no soldering or particularly complex work required, everything screws together and connects with cables. Looks very easy to do.Edit: Just received this, included was a piece of paper with two urls for operating and assembly instructions, qr codes would have been nice but eh. Working on putting it together now 😀Well.... No 18650 battery is included and my screen is not turning on, though both led 2 and 3 light up with USB c. Not sure if the battery is required or if I have a dead screen... But I don't have one on hand so further review will have to wait. Also FYI, make sure you do the test BEFORE using the 3m to glue the screen down, just in case you need to double check the connection, that screen sticks pretty darn well and you don't want to risk breaking it by pulling too hard! I had to slowly work a mini scraper tool in between to carefully pry up the screen and check the connection, seemed ok though, reseated it anyway since I'd done the work but still no power to the screen.Update 2:Ahhh crap, I should have read the operating instructions sooner! 🙄 So despite the assembly instructions saying the screen would turn on when you plugged it in you have to make sure the power switch is in the on position and then press the rotary button in for 1.5 seconds to turn on the radio. Ugh, ok whatever, got it figured out and it works! Well... Still no idea how to tune it to something that's actually out there to hear but I managed to accidentally get it into Bluetooth radio mode so I'm gonna take a break and listen to music from my phone😆Update 3: ok so I've played with this a bit more, FM works GREAT like really good compared to others I've used before. SW and AM.... Not so much, I definitely was able to pick up something on several stations but it's so noisy it's almost unhearable. Not sure how much of that is distance or interference, I never really listen to am so don't have much to compare it to, but it works and might work better with other antennas, I would imagine the included ones are for convenience more than efficiency.
Trustpilot
1 month ago
2 months ago