
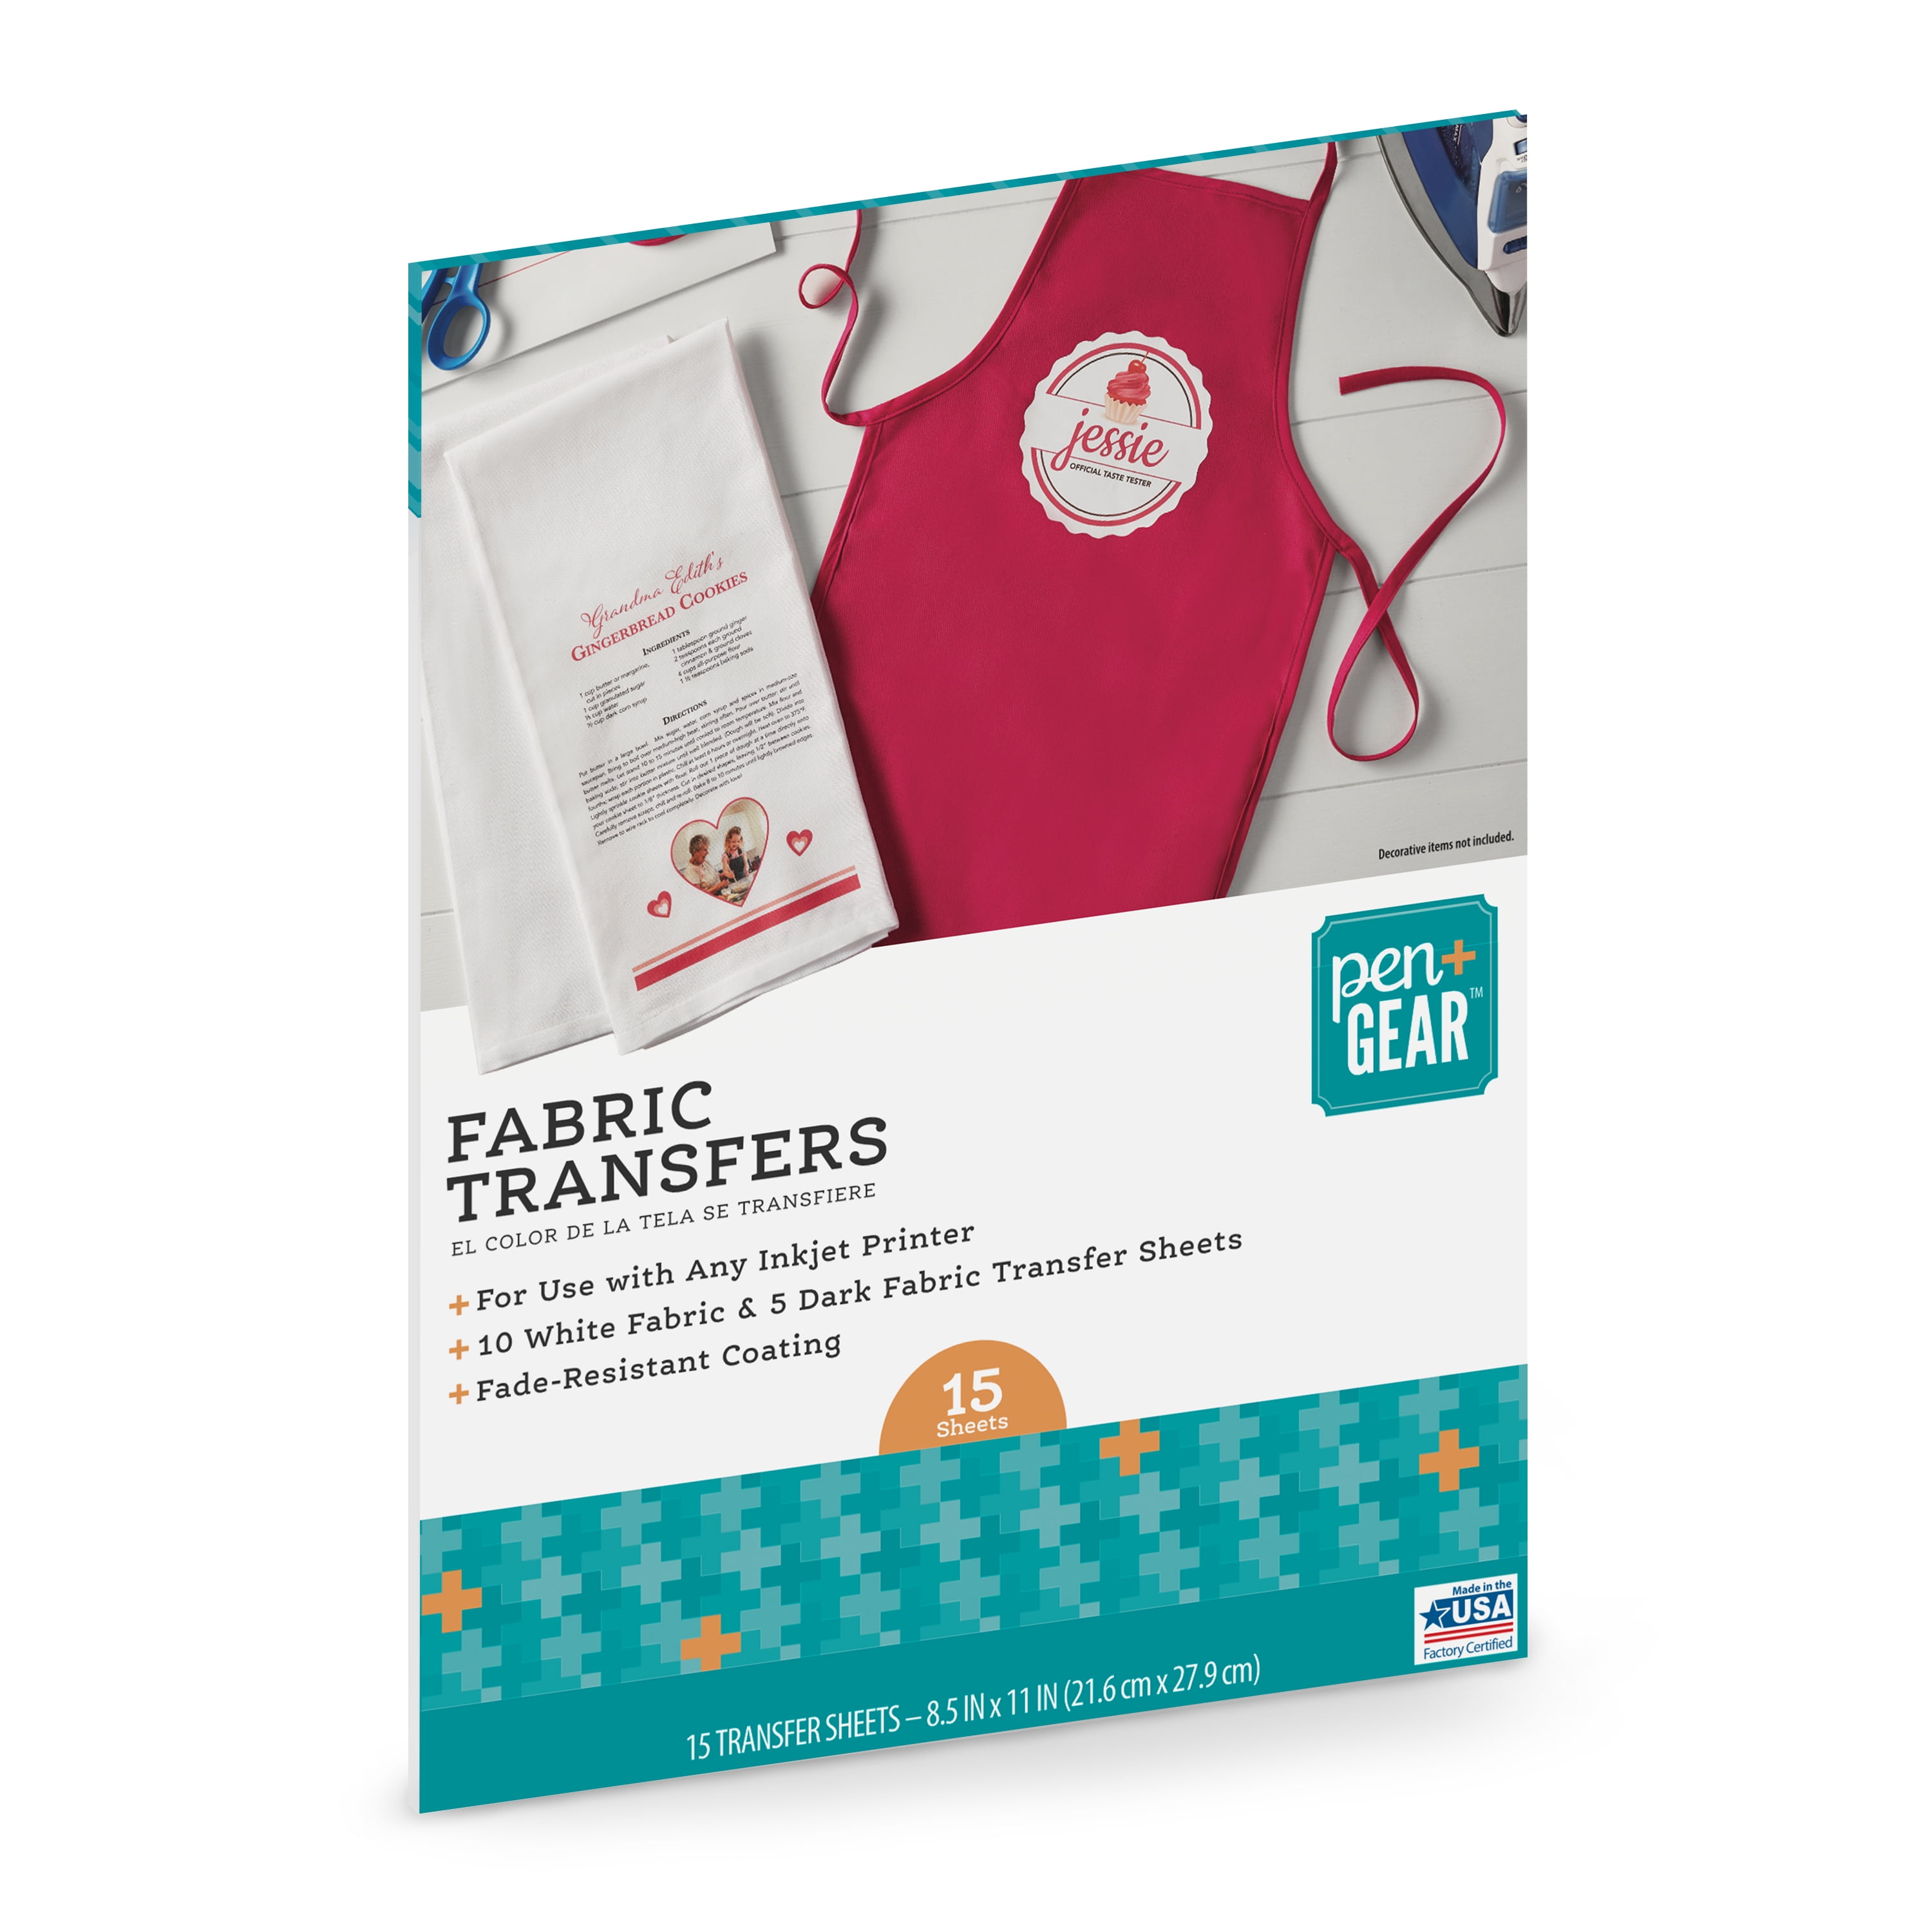
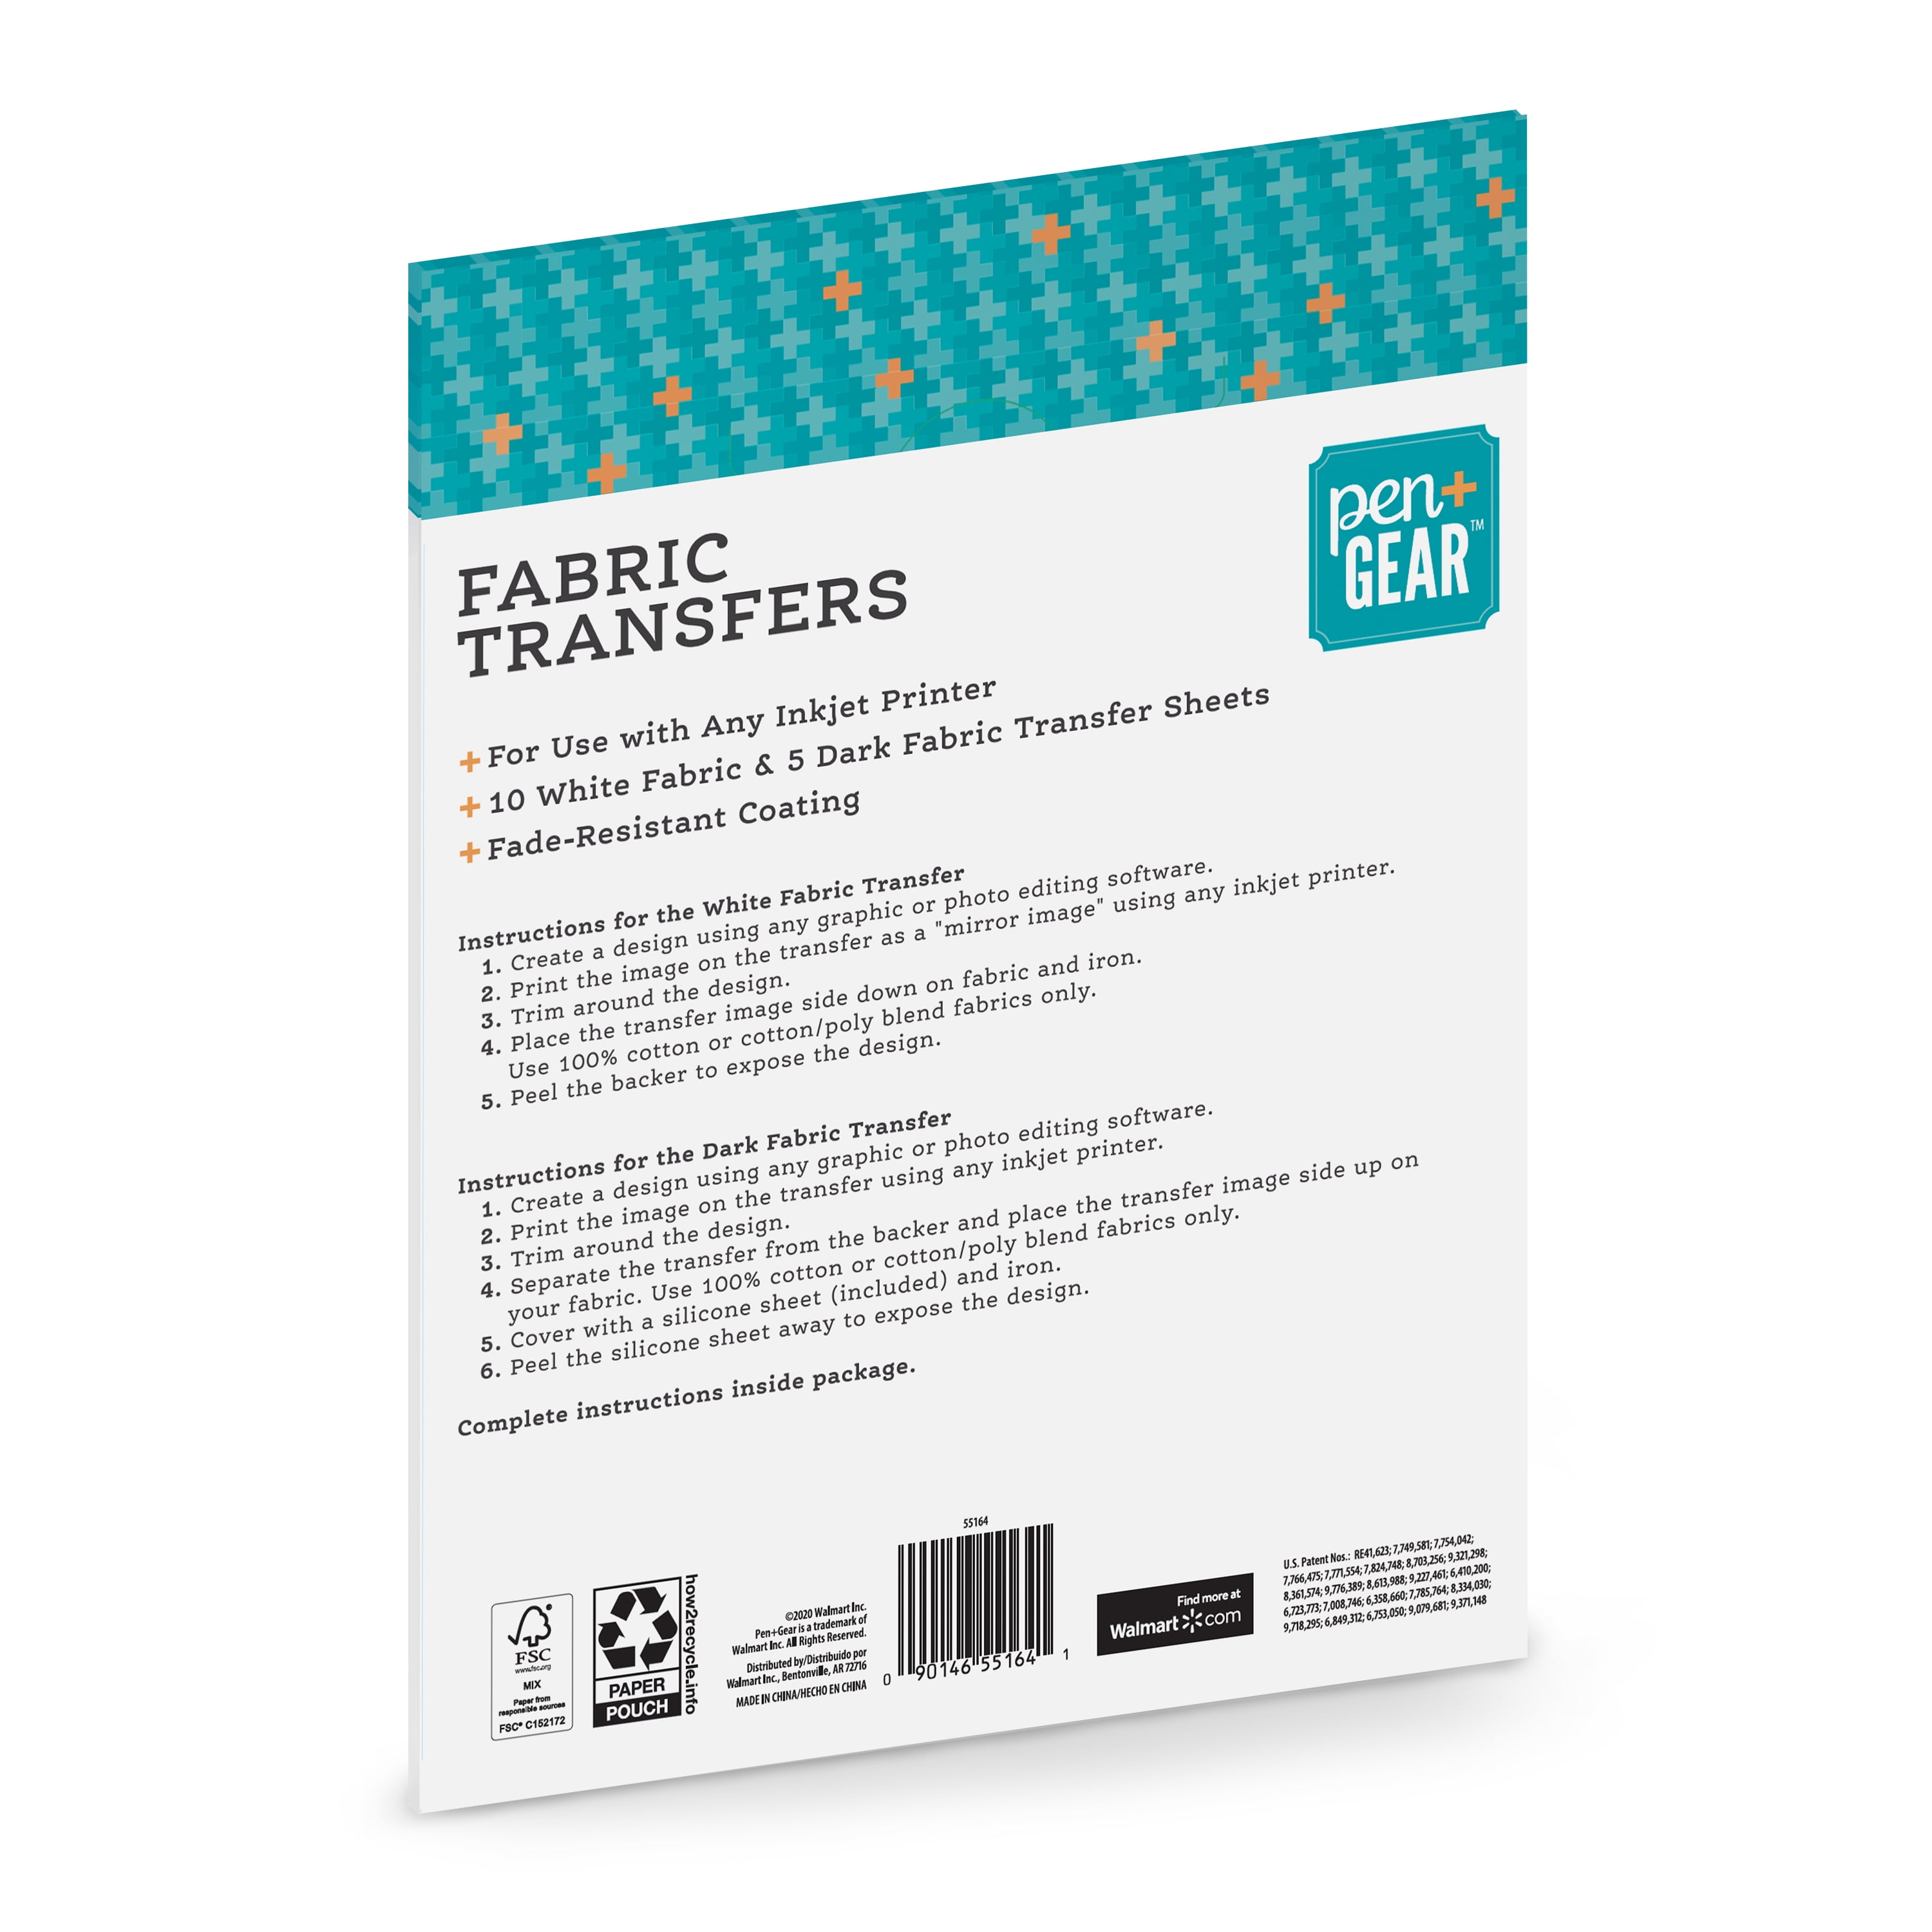
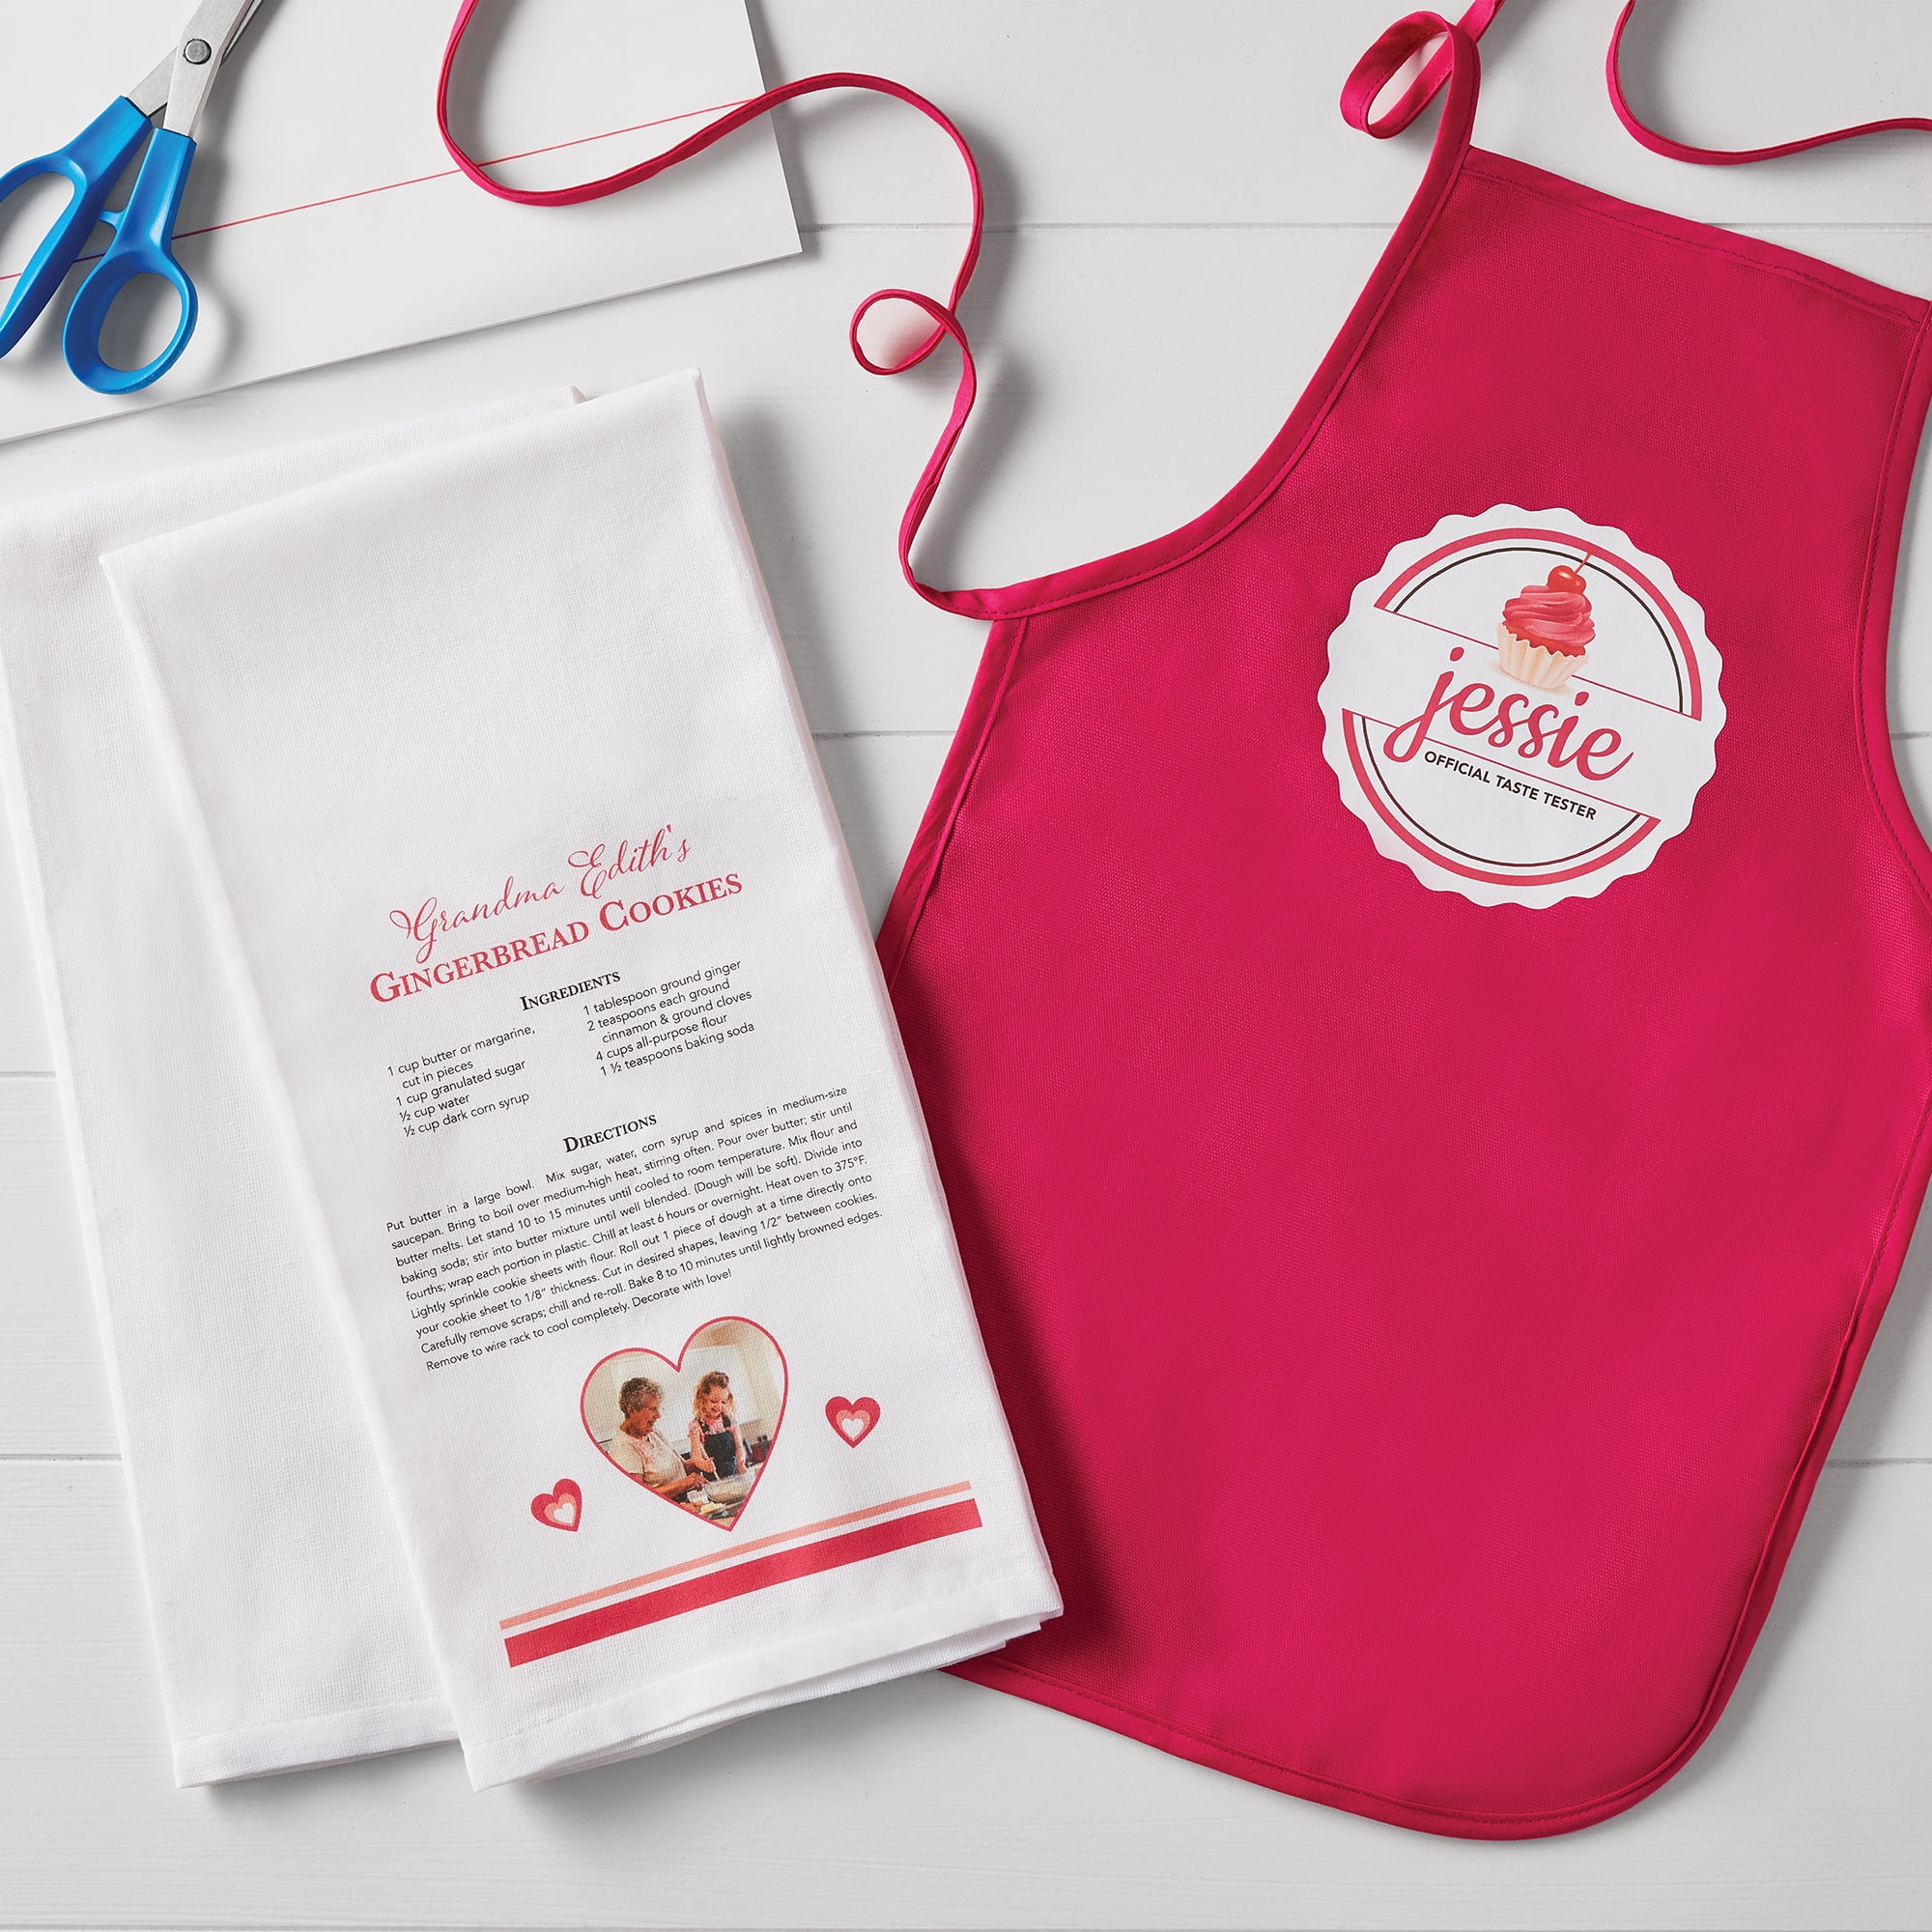
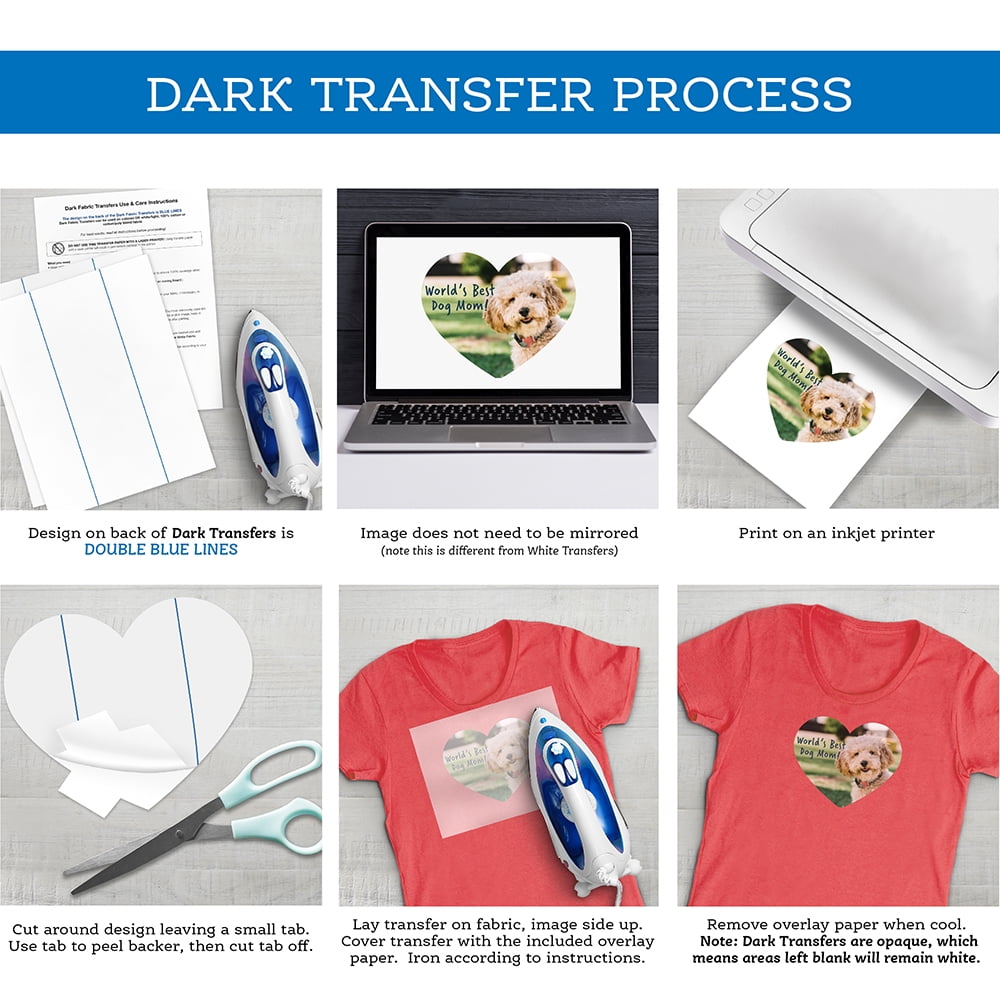
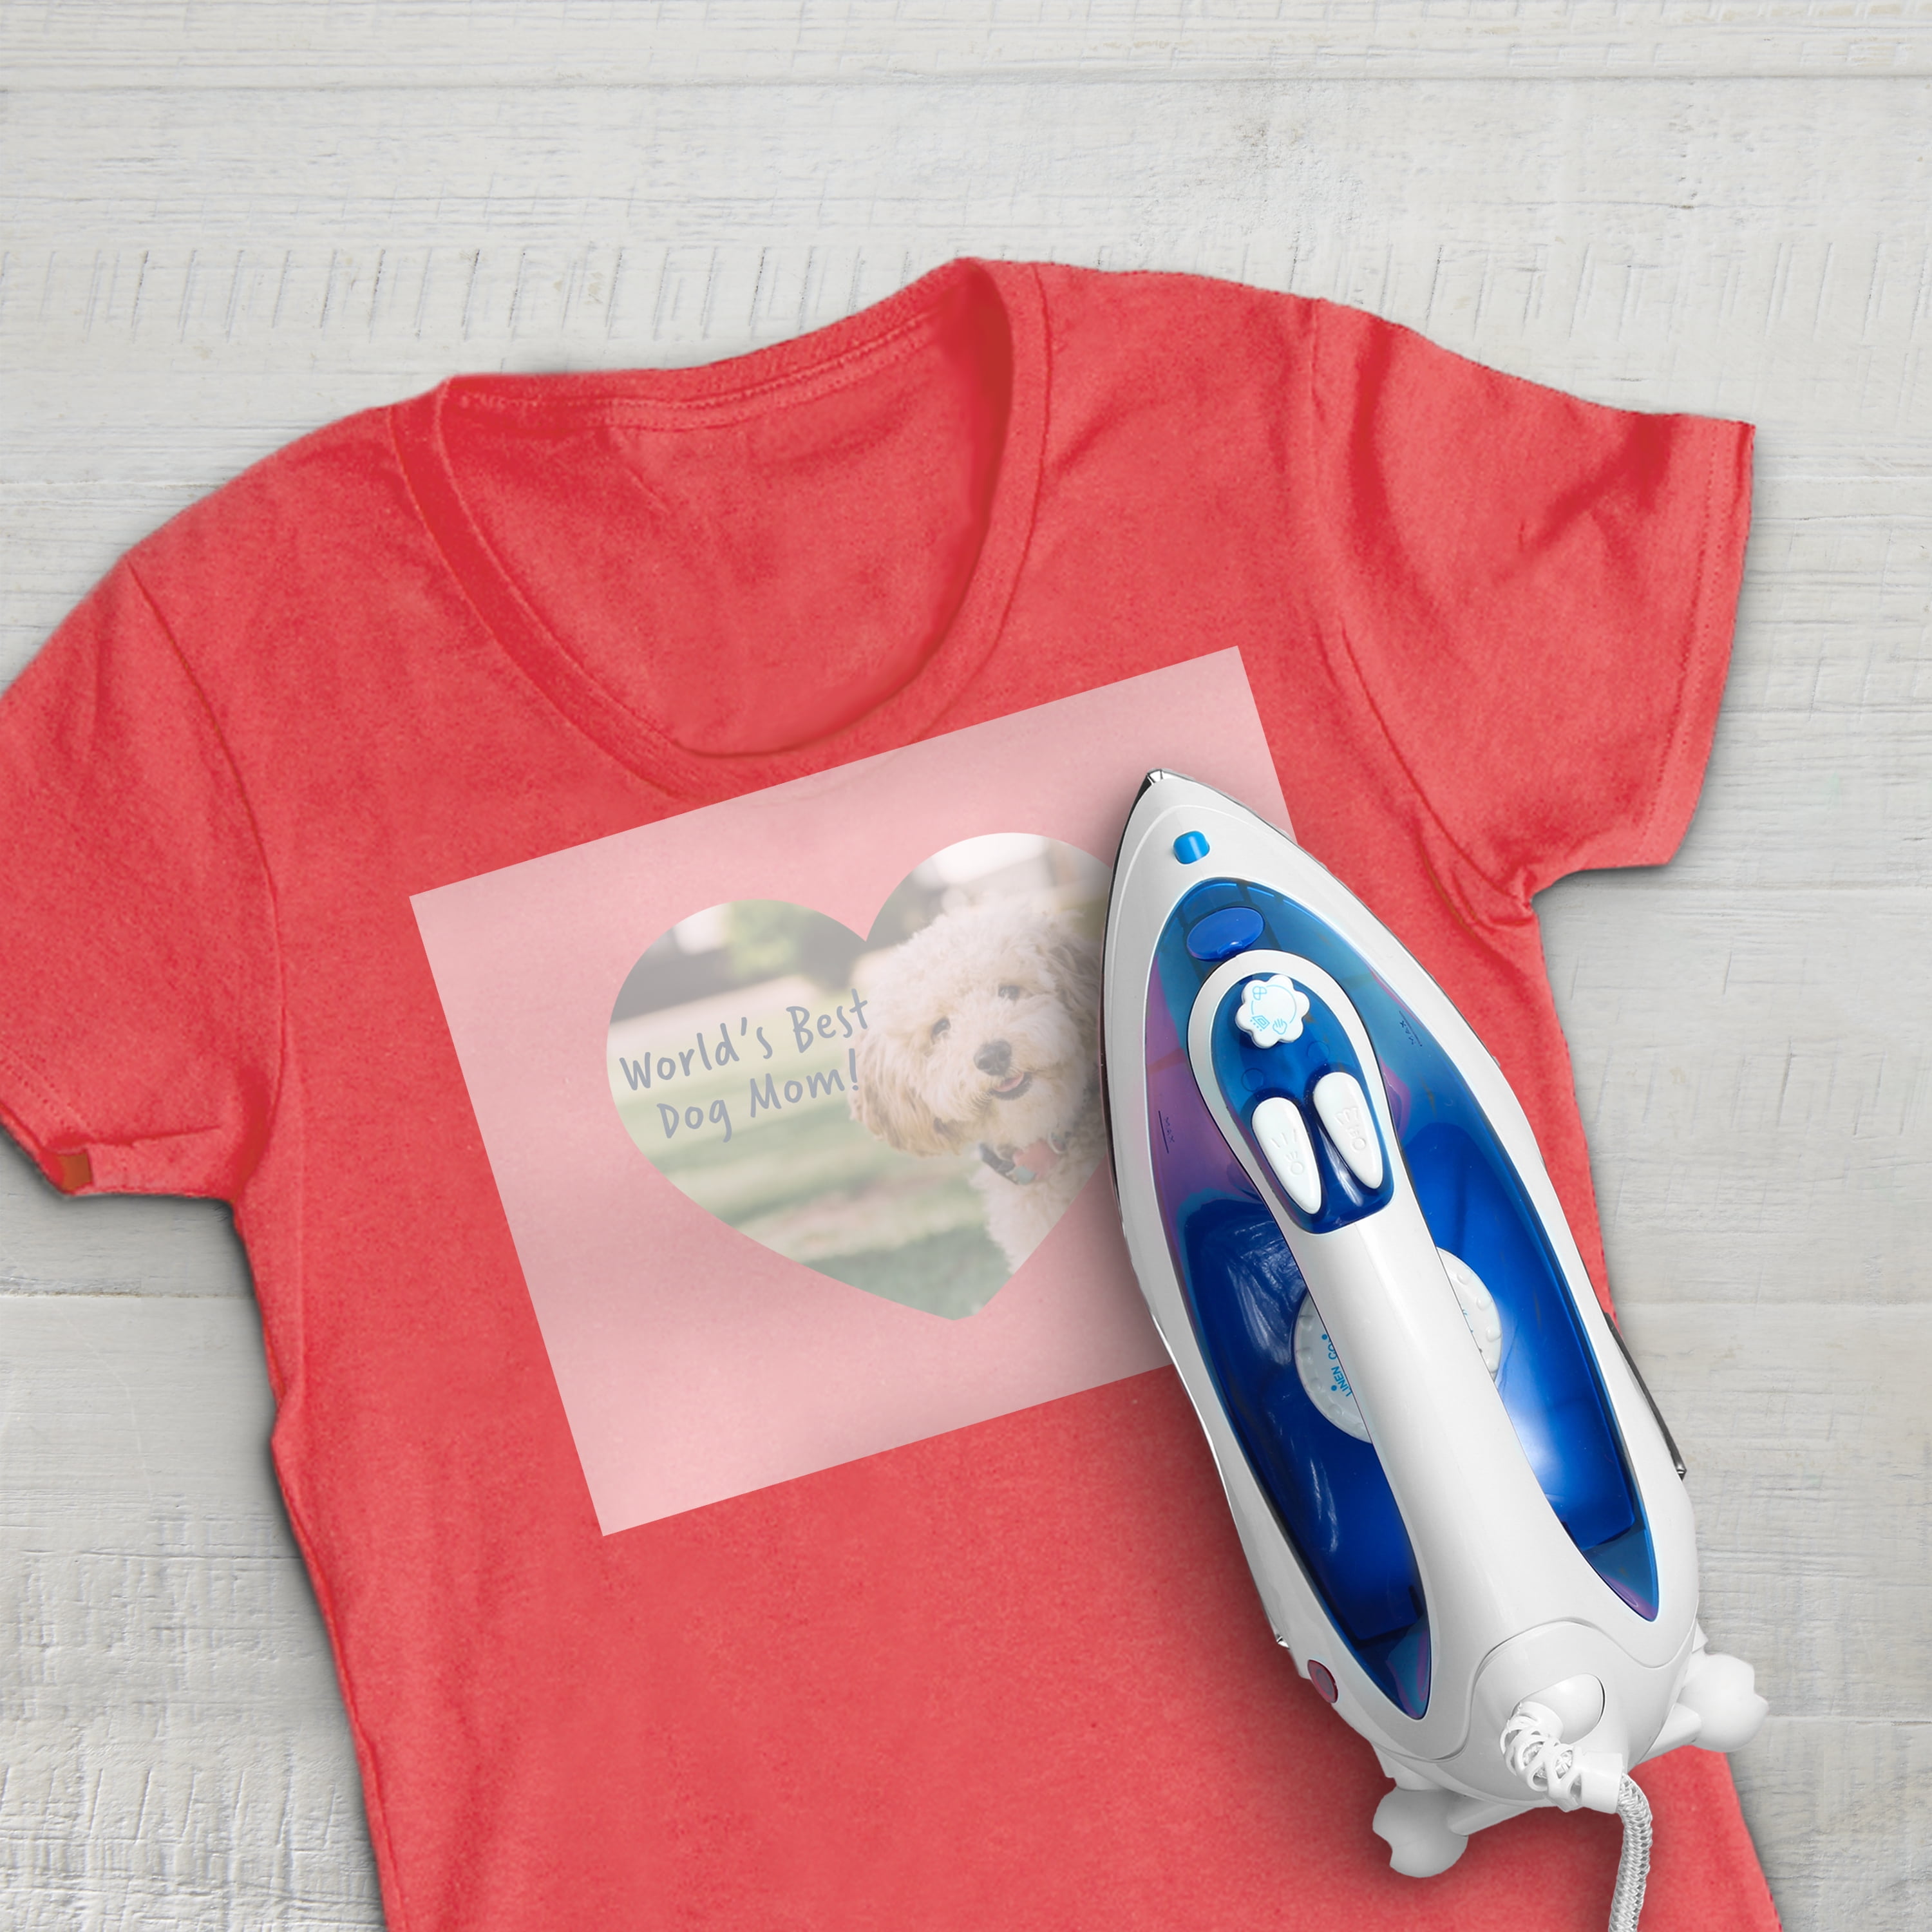
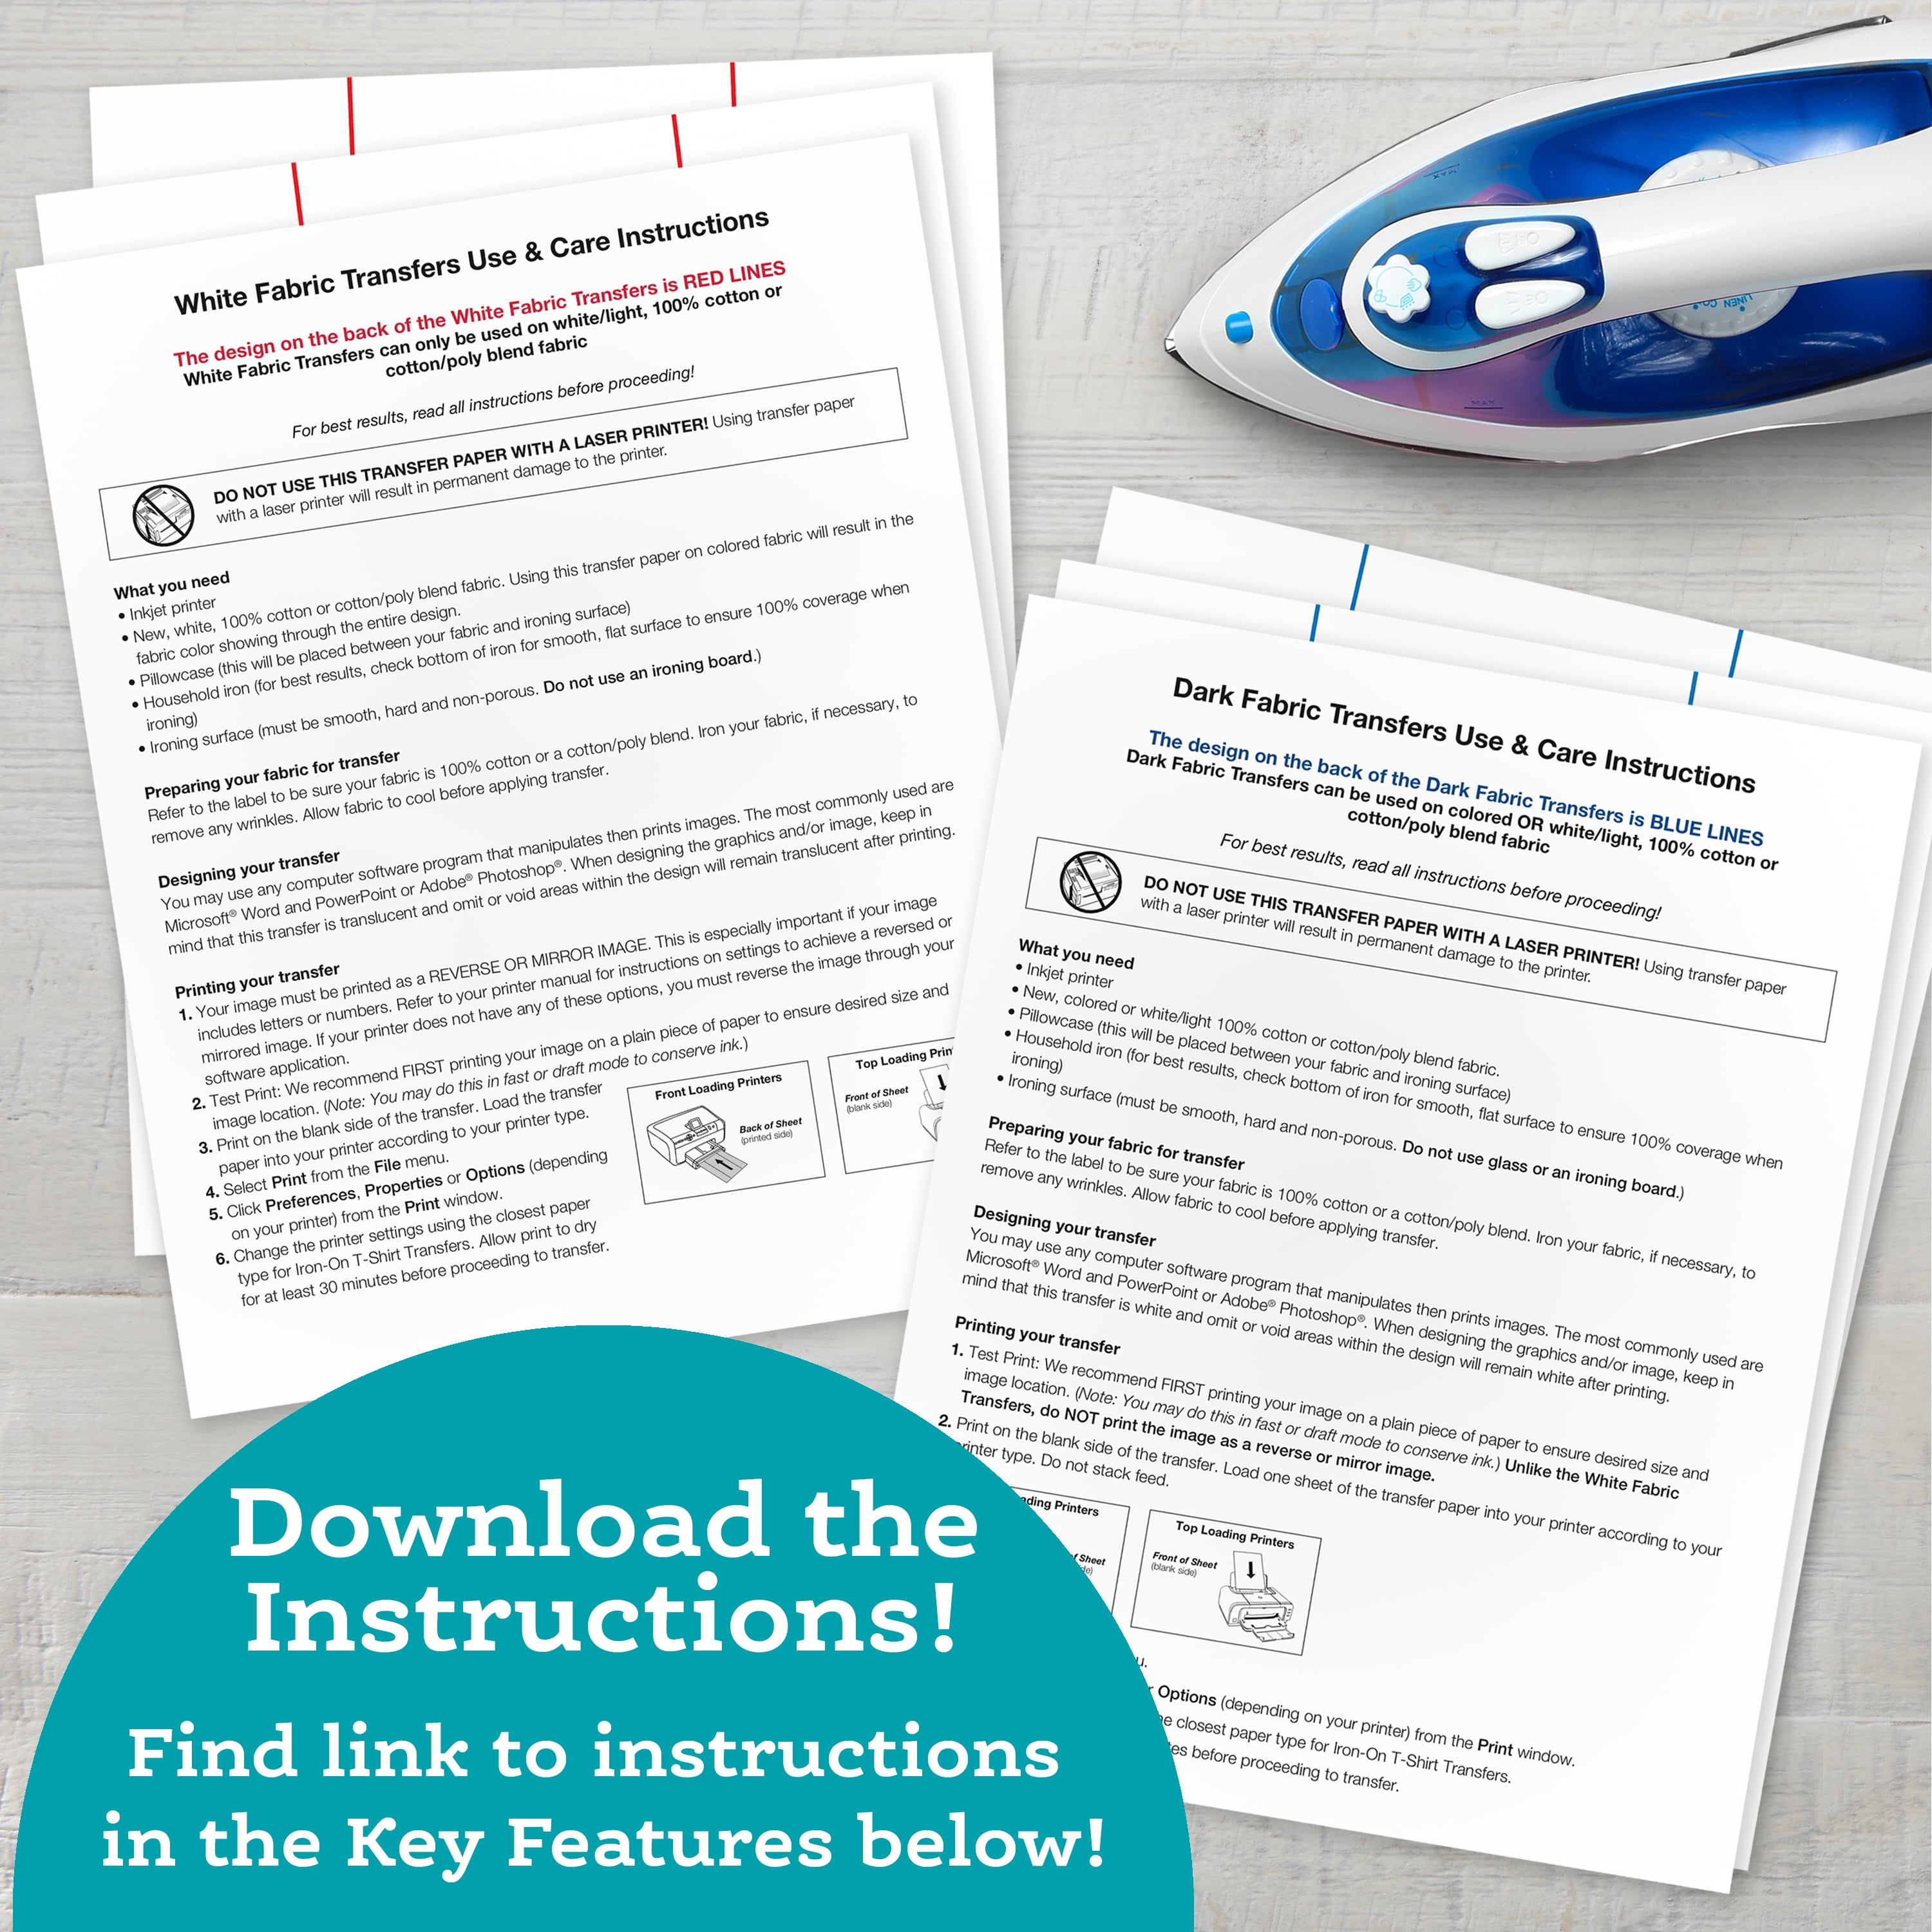
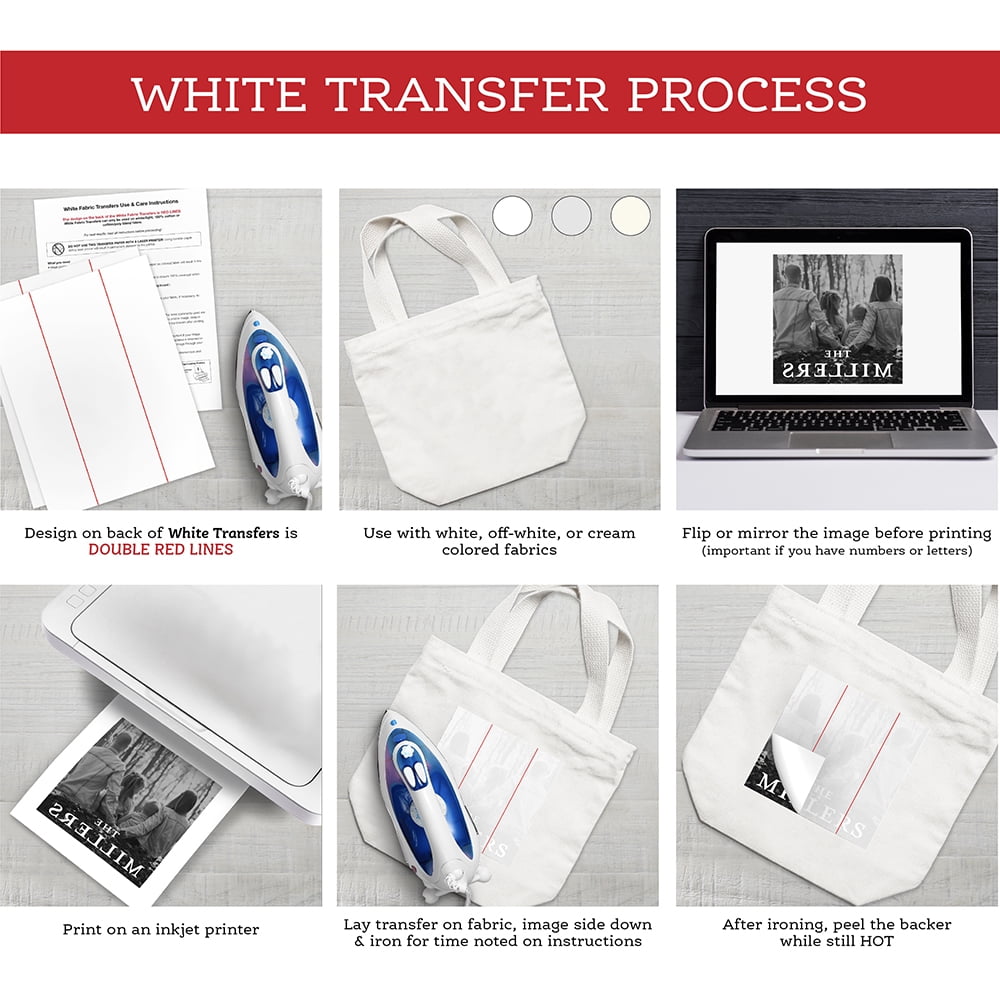
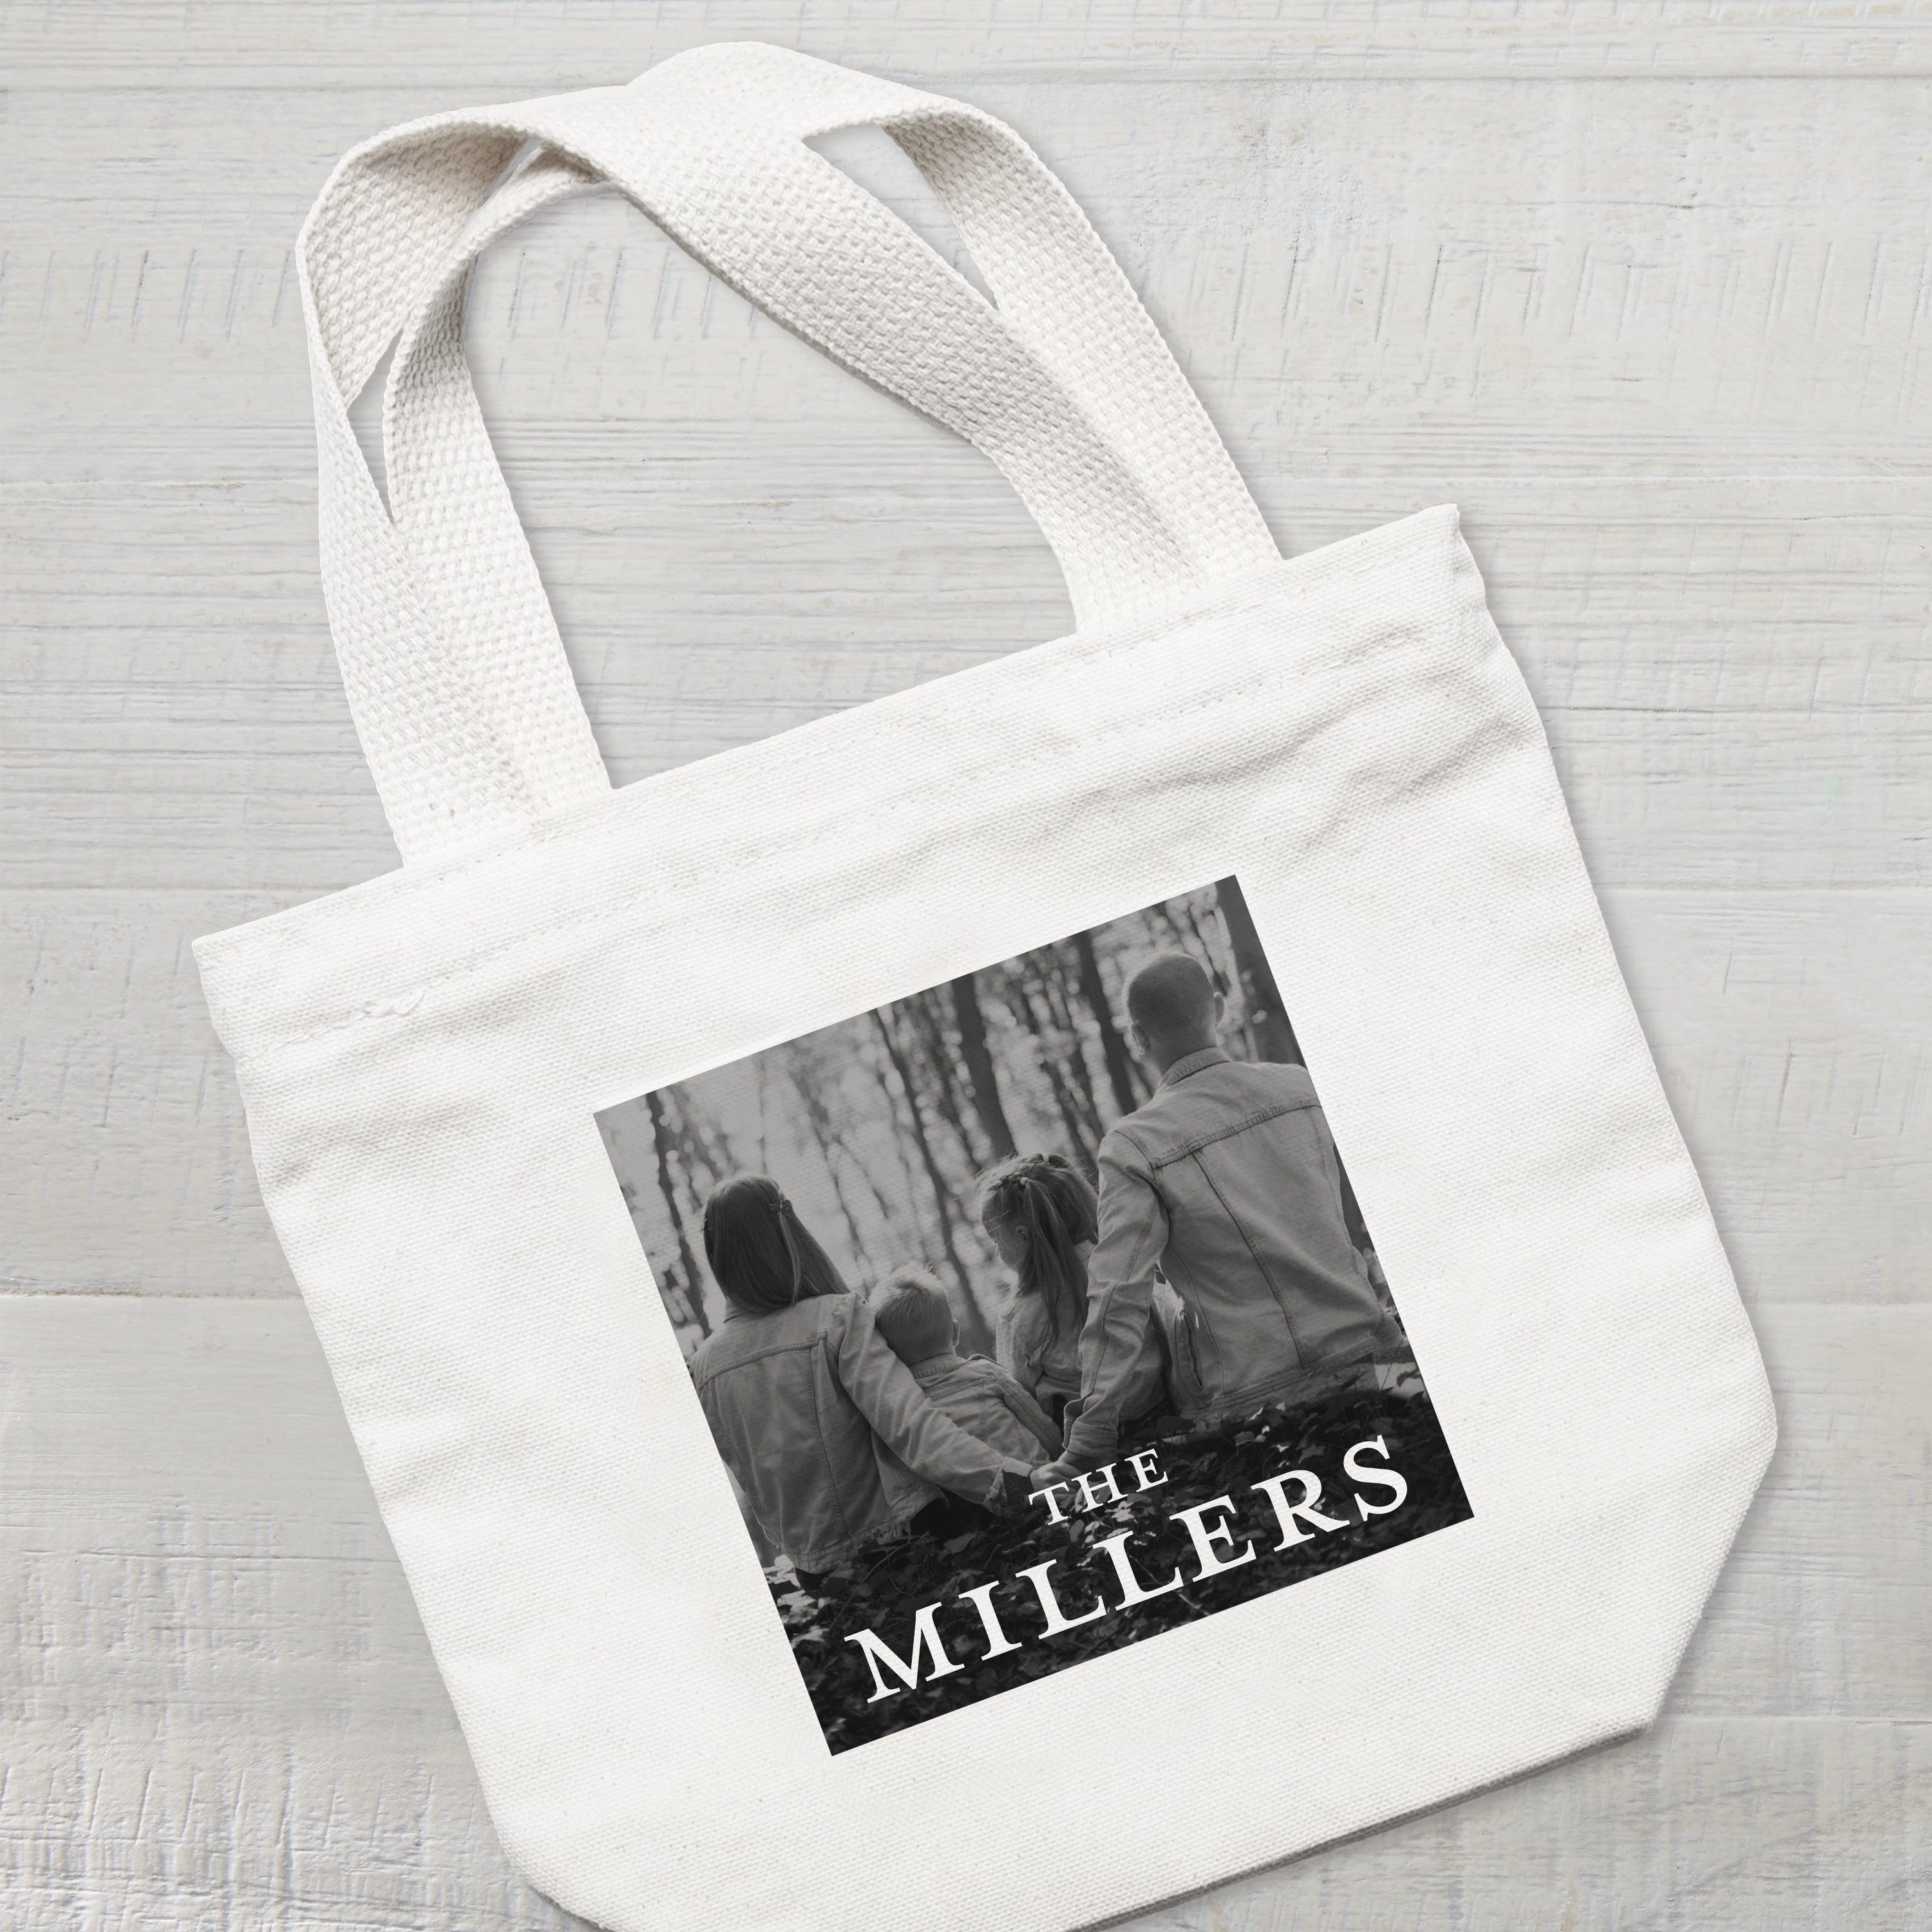
Do you have a community event, birthday party, class or a family reunion coming up? Why not create your own custom t-shirt, sweatshirt, tote bag or more for all to see! Our Pen + Gear Fabric Transfers lets you add a personal touch to a variety of items using custom fonts, logos, images, and phrases. These fabric transfers feature a special fade-resistant coating for professional quality long lasting results. Pen + Gear Fabric Transfers are easy to use and is compatible with any inkjet printer. All you have to do is just design, print and press to add creativity and personality to your next homemade project. Pen + Gear White & Dark Fabric Transfer Paper, 8.5 x 11, 15 Count: Includes 10 White Fabric Transfers and 5 Dark Fabric Transfers (please read below for differences between the transfers) For use with any inkjet printer (note: not compatible with laser printers) Works with 100% cotton / poly cotton blend fabrics Fade-resistant coating for vibrant graphics White Transfers: Should only be used with white, off-white, or cream colored fabrics White Transfers are transparent after ironing, which means that the fabric color will show through the design The design on the back of the White Transfers is Printed in Light Red You must flip/mirror the image before printing so that your design does not transfer backwards (this is especially important if there are numbers or letters in your design) When you are ready to transfer your image to your fabric, you will lay the transfer on your fabric, image side down (double red lines will be facing you). Then iron following the White Fabric Transfer instructions that came with your product. After ironing, peel the backer while still HOT. Dark Transfers: Can be used with white or colored fabrics Dark Transfers are opaque after ironing, which means that any areas left blank will remain white The design on the back of the Dark Transfers is Printed in Light Blue When printing, your image does not need to be mirrored - PLEASE NOTE - this process is different from the White Transfers When you are ready to transfer your image, you will need to cut around your design and peel away the backing paper before ironing. (Hint: leave a small tab to help you start to remove the backing paper and once removed, trim away the tab). Once you have removed the backing paper, you will lay transfer on your fabric, image side up. Cover the transfer with the included overlay paper (this acts as a barrier between the iron and the transfer). Then iron following the Dark Fabric Transfer instructions that came with your product. After ironing, remove overlay paper when cool.
Trustpilot
1 week ago
1 day ago