✨ Stick, Style, Shine! ✨
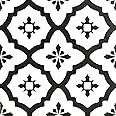
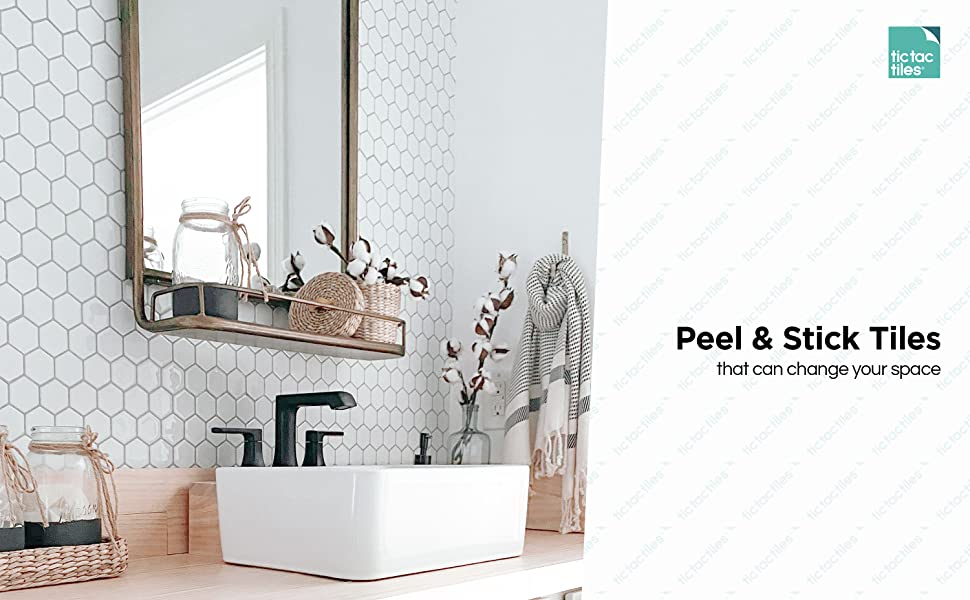
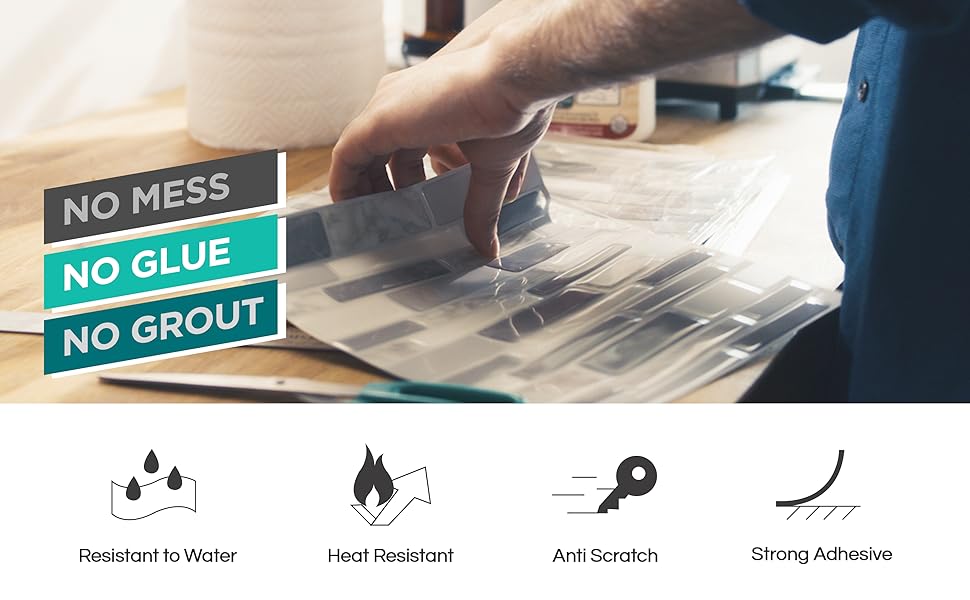
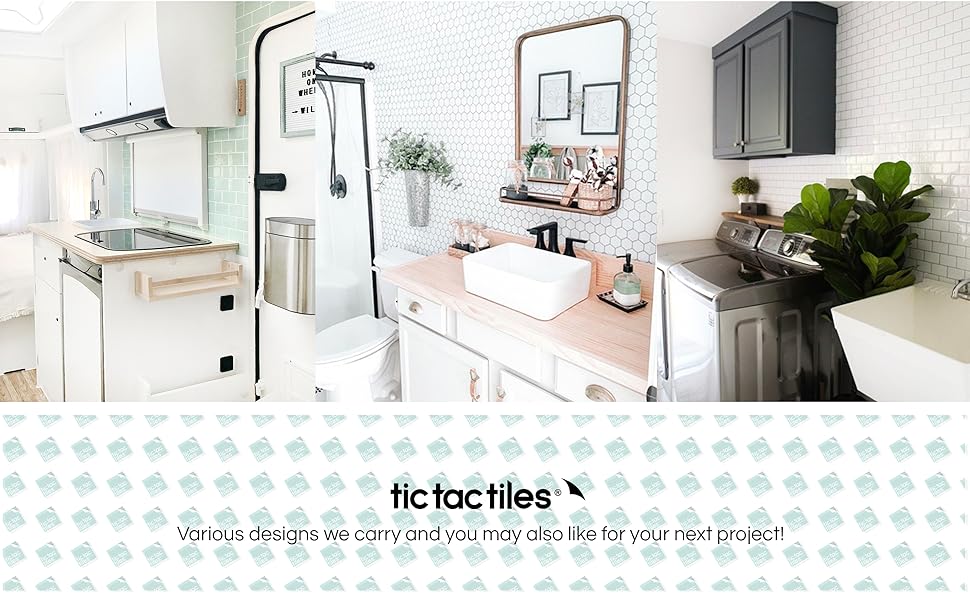
Tic Tac Tiles are self-adhesive, removable wall stickers designed for easy installation and durability. Sized at 10"x10", these tiles are perfect for indoor use, resistant to heat and moisture, and can be customized to fit any space. Ideal for kitchens, bathrooms, and accent walls, they offer a stylish solution for modern living.


M**E
Happy Tiling :-)
Hello all! I wanted to update part of the kitchen that would entail: 1) a reasonably priced project (check), 2) not too difficult to install (need to be patient & having a steady hand helps), 3) will last (time will tell, but so far, so good) & 4) easy to clean. Enter...Tic Tac Tiles. Initially, I ordered a pack of 10 which went up well... In preparation of the project, it would behoove one to measure well in advance as to how many tiles you will need (if you are able, add a few extra - just to have on hand in case they are needed) . Also, know the tiles are quite sticky and will lose some adhesive if you need to keep removing and reapplying.My own error was not doing a correct measurement at the start of the project , so I had to order a couple additional packs of tiles. I do not have a proper before photo to show so an after may not do justice, but overall I am pleased. They have helped the kitchen take on a more modern and clean look! A big plus!*My best advice - Measure well before and during application, Line up the tiles the best you can to ensure a good seal where one tile ends & the next begins (this will help the look of them overall and also helps with cleaning as you want all the edges to be flush with the wall). There are a few areas I needed to either line up better, the adhesive was giving (and/or the wall was not completely smooth which was my issue & not the tiles) so a few edges are not as smooth as all the others. So, learn from me, and make sure to line the tiles up properly from the first application and as you go, use a smoothing tool to make sure the tiles are stuck to the wall as well as they can be and again, are flush with the wall...Double check those corners & edges and you should be pleased! Lastly, ideally it is best to have a smooth surface to work with....This will give the best outcome. The tiles need a smooth, flat surface to do their job well.I had a question/concern at the end of the project regarding a few tiles adhesive and contacted the company. They responded straight away, were nice & helpful, answered any concerns/questions and were pleasant doing business with. I hope this helps a little & happy tiling! :-)
A**Y
looks nice
I thought it was difficult to apply to wall. Could be my fault as I'm not very handy. I put it on the wall as back splash of my camper. It looks nice if you don't look too close for mistakes! I'm concerned about it coming off the wall once it freezes and thaws this winter. I'll repost a review in the spring.
T**H
Easy diy project
So this project was hard but satisfying. It took a lot of elbow grease. I'm not the best at DIY projects but I gave it my best shot. You really need to take the time to measure, cut and piece it together. The tabs fit perfectly together if done correctly but my cabinets are slanted so I had some difficulty. There's areas where I can totally see my mistakes but my husband didn't see them until I pointed them out. The tiles stick very well! Also, we had an incident where he made huge flames and the tiles are still intact. I really love how it turned out and will probably add a little something around it to smooth it all together.
M**I
Sticky tiles
Not what I expected. Small, not worth it.
J**
Looks GREAT both from a distance and close up!
I searched for a long time for a backsplash I liked and could afford. AND THEN I FOUND Tic Tac Tiles! I decided at this price, I could take a chance and try it out. I started with cleaning the wall, and just jumping in and applying. The learning curve was small, and after 3 tiles, I had it down. Please use a level to give yourself a nice strait line to follow, and you are golden. A pair of sharp scissors made the job a breeze. The final outcome is just beautiful, I highly recommend. Now, will it last? time will tell, but at 1/4 of the price and 1/4 the time of installation of ceramic tile, WELL WORTH the chance!
A**R
Very pretty
But started lifting in the corners
N**T
End result pretty -- Process pretty stressful!
In all good conscience I had to give this produce a 5-star rating. Why? Because it really looks nice and it would appear that it is really going to hold up.However, if I were rating this on usage it would get 1 lone star. Why? Because trying to line up the overhang, and at the same time the bottom, or top edge (whichever direction you are working from) is not easy. I repeat, this is NOT easy. Just a touch and these things stick and if you aren't in the right position when that happens it's a real bugger. My husband and I are both quite crafty and DIYer's, but I have to tell you that I don't know if I would ever take on a new project with these again. Not unless there is an application secret I'm unaware of and someone advises me of this. I might try the square version, but not this brick version.I also want to advise that you actually figure your square footage coverage and then order some extra. We had just a small area to cover and ordered 2 boxes of 10, thinking we'd have leftover tiles. As it ended up we ruined 2 or 3 and had to order another box of 5 to finish and they aren't exactly cheap.Quite honestly, it took us about 5 hours to do a very small area, which we didn't get completely finished (as explained above), and both of us had moments where we were about it tears from the frustration. They look nice, but would I do it again? Not with these brick-type tiles; not unless someone will share their secret for a less stressful application.
M**.
Pretty easy and a quick fix for a dreary old ...
Pretty easy and a quick fix for a dreary old kitchen. I did it in a couple of hours and my wife was totally impressed. Check out my pics, you can really make a difference for a reasonable price!
Trustpilot
1 month ago
5 days ago